There are many ways to take screenshots on Windows 11. You can use the PrtSc key, use the snipping tool, or use third-party screenshot apps to capture a screenshot on Windows 11. Recently, we discovered another best and easy way to capture & edit screenshots in Windows 11. Google is testing a new screenshot tool on its Chrome browser to benefit users who frequently take screenshots. The feature is already live in the latest Chrome Canary build but hidden behind an experimental flag. The new utility of Chrome allows users to capture screenshots and provides many annotation tools to edit the screenshots. So, if you don’t have any third-party tool to capture and annotate screenshots on Windows 11, you may want to enable this feature right now.
Steps to Enable & Use the Hidden Screenshot Editor in Chrome
Hence, this article will share a step-by-step guide on enabling the screenshot editor in the Google Chrome browser. The steps will be very easy; follow them as we have mentioned.
First, open the Google Chrome Canary on your computer. Next, on the URL bar, type in chrome://flags and hit the Enter button.
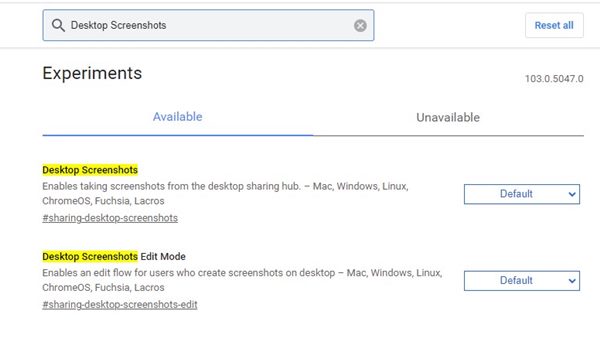
On Chrome’s Experiments page, type in Desktop Screenshots in the search box.
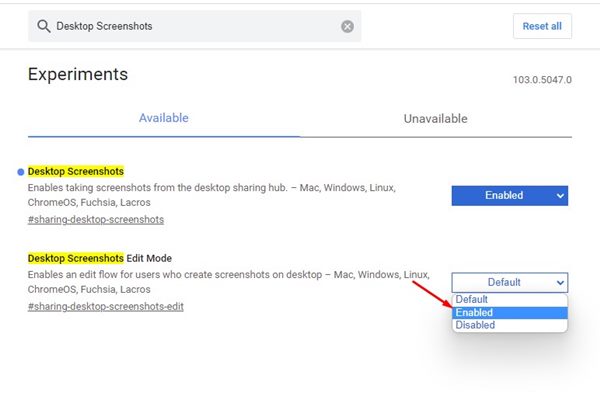
You will find two flags for Desktop Screenshots. Click on the drop-down list for Desktop Screenshots and select Enabled.
Next, click on the drop-down list for Desktop Screenshots Edit Mode and select Enabled.
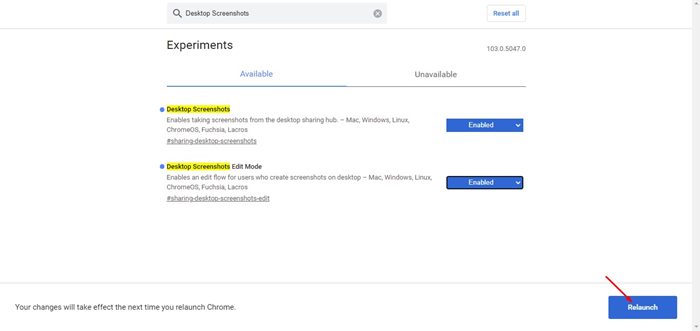
Once done, click on the Relaunch button at the bottom of the screen.
That’s it! You are done. This is how you can enable the hidden screenshot utility in the Google Chrome browser.
How to Capture & Edit Screenshots in Chrome
After enabling the two flags, your Chrome browser is ready to capture and edit screenshots. Here’s how to capture and edit screenshots in the Chrome Canary web browser.
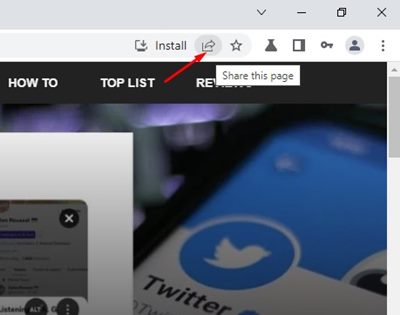
First of all, open Chrome and visit the site where you want to take a screenshot. Next, click on the Share button on the top-right of the address bar.
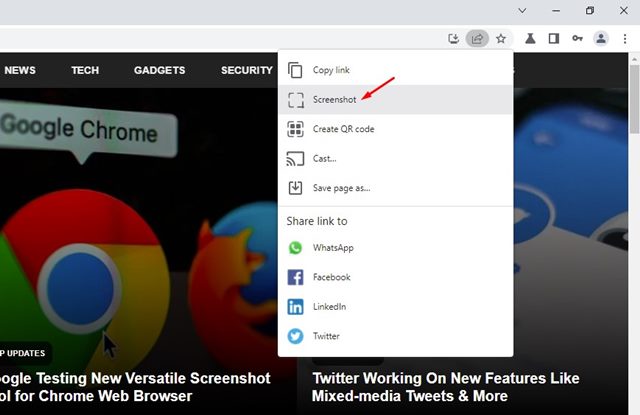
From the list of options, click on the Screenshot.
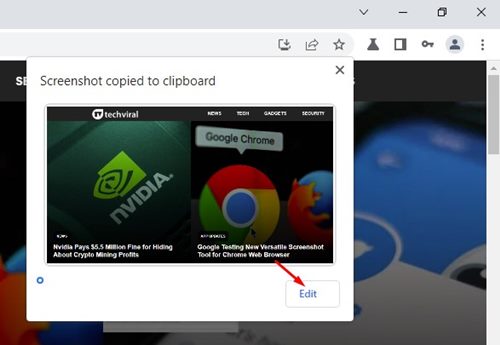
Now, Chrome will automatically capture the screenshot to your clipboard. If you want to edit the screenshot, click on the Edit button.
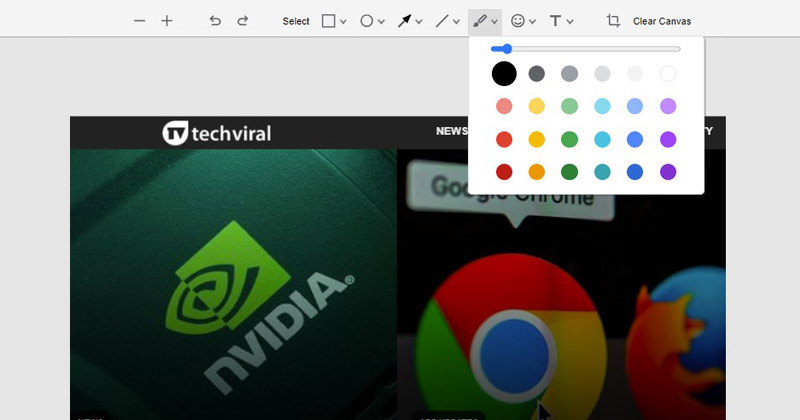
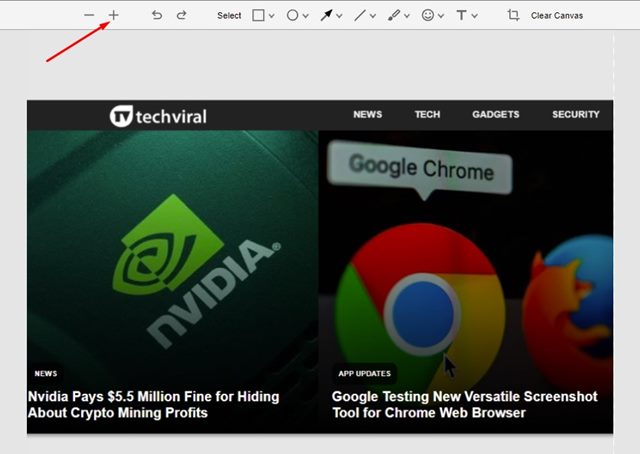
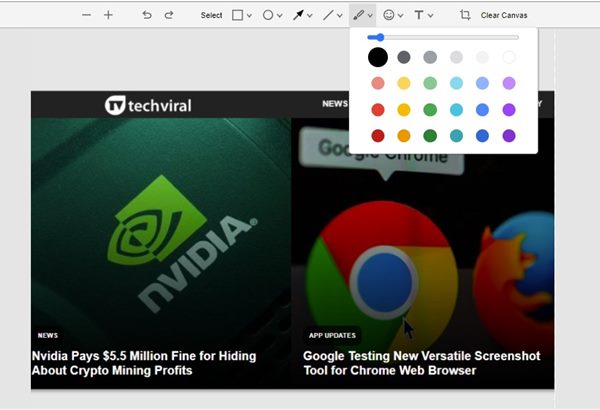
The Screenshot editor will open. At the top, you will see various screenshot annotation tools such as ellipse, arrow, line, brush, emoji, rectangle tool, text, and crop.
It also includes an image markup tool that allows you to mark things using arrows, lines, circles, rectangles, etc. You can even highlight the text you put in the screenshot as well.
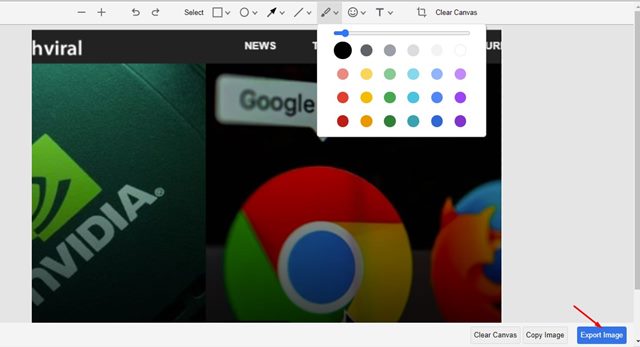
After editing the screenshot, click on the Export image button to save the screenshot on your PC.
That’s it! You are done. This is how you can capture and edit screenshots in the Chrome browser. Microsoft Edge also has a similar feature called ‘Web Capture’ apart from the Chrome browser. Web Capture is more advanced than Chrome’s Screenshot editor since it allows users to capture specific areas of the browser and take full-page screenshots. So, that’s all about enabling and using the new screenshot editor of Google Chrome.
Δ